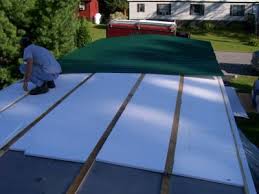
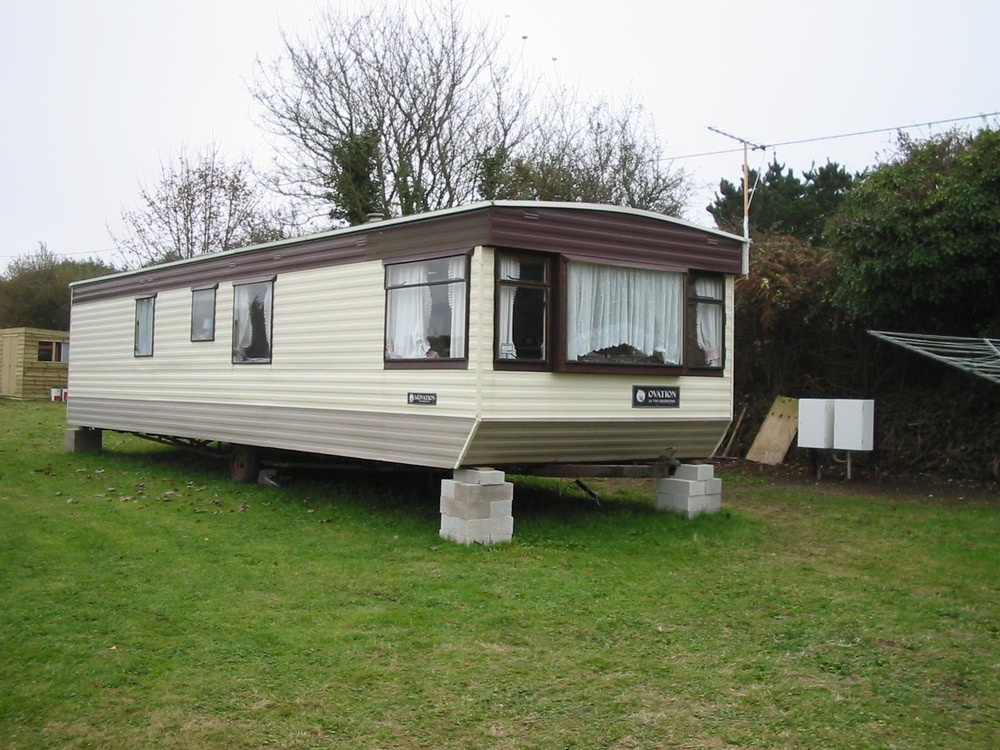
Handler 140 Welder Tool For Mobile Home Roofing

handler 140 for mobile home roofing

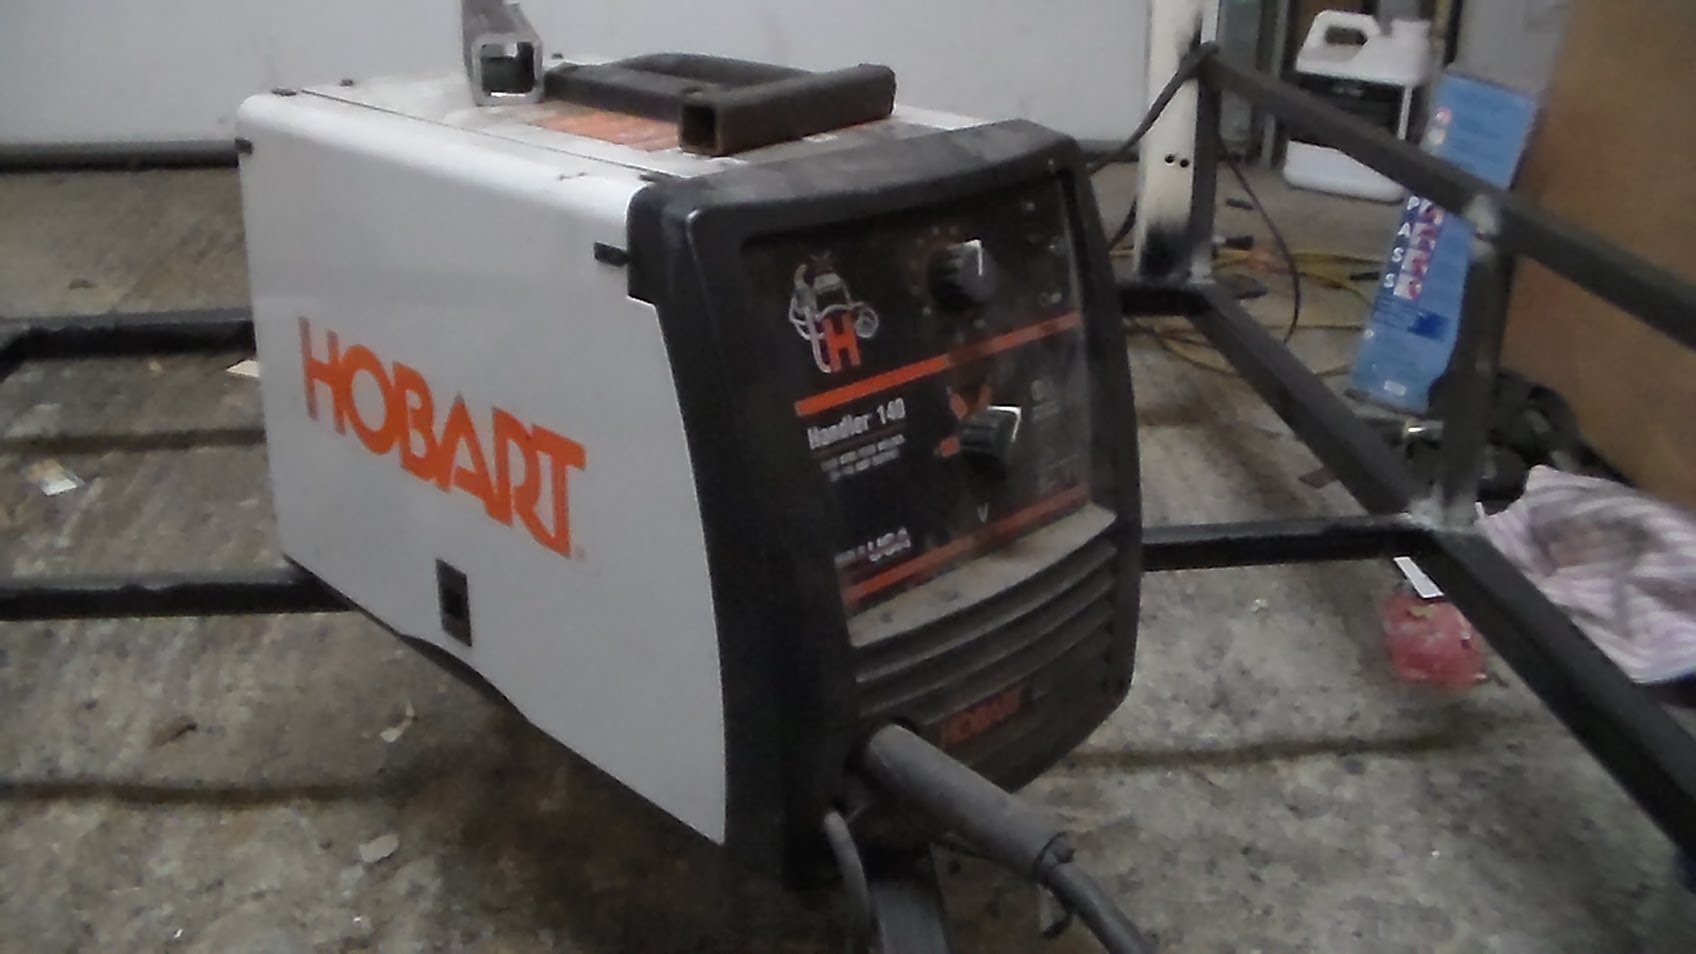
Commonly referred to as the Handler 140, the product is Hobart’s most popular wire feed welder. It packs extra welding power but is built with portability in mind to make it easy for the user to transport it anywhere demanded by work.

Sets Up Easily from the Box

The welder is very user friendly in mobile home roofing. It takes only a few minutes to set it up and get it ready for use. On the inside cover, you will find a setup guide with easy-to-follow instructions so you can set up the welder properly. Even first-time welder will find it easy to prepare and use. It is also MIG ready as there is no need to buy additional kit.

Delivers Industrial Performance

Once the welder is properly set up, you will find the Handler 140 a versatile welder capable of industrial performance. It operates on 115 volt household current so you can just plug it in your home sockets and start working. To give the user complete control and create a smooth stable arc on all thickness, the tool is designed with a 5-position voltage control selector.

The Handler 140 with its industrial cast-aluminum drive system and a heavy-duty clamp system is a versatile product that is suitable for use on a variety of works, including household repairs, auto body and parts. It packs extra power allowing the welder to handle even power-demanding farm projects.

Limitless Uses and Applications

With its versatility and power, the Handler 140 is virtually limitless in its application and uses. DIY enthusiasts will find the tool perfect for do-it-yourself projects such as repairing and fixing lawn and garden equipment, tool carts, metal sculpture, trailer frames and hitches, mower decks, exhaust systems, auto body panels, fences and gun/bow racks.

Stands Out from Other Products

The differences between the Handler 140 and similar products in its category are apparent right from the time you take it out of the box. First thing you will notice is its solid construction. The body is made of stronger and thicker steel compared to thinner shells of similar tools. The wire feed assembly is composed of metal parts, unlike other welders where mostly plastic components are used. Practically every component of the Handler 140 is sturdier than other products in the market.

The package contains everything you need to start welding right away. The box comes with the Handler 140, 10-foot MIG gun with liner, 10-foot cable and clamp, 0.30 flux-cored wire sample pool, 8-inch pool adapter, dual-gauge regulator and gas hose, setup guide and owner’s manual.

We say the product is a great buy at its price and delivers high performance for welders in its category.

Tips on Successful Mobile Home Roofing Installation

mobile-home-roofing-installation

If you want your roof to last long and provide maximum protection to your mobile home for years to come, proper installation is a must as well as regular maintenance. Do-it-yourself mobile home roofing is practical and saves you money from installation costs. However, make sure that you follow the correct procedure in roof installation.

While installing roofs on your mobile homes, remember these practical and useful guides to ensure your safety and the best result from your work.

1. Working on the Roof

Walk near the edge of the roof when walking on the roof because that is usually the strongest area of the roof. For additional safety precaution, use a plywood or boardwalk when walking on the center of the roof.

2. Proper Use of Ladder

Ladder should be extended by at least three feet above the roof for convenience and safety. It is easier to get on and off the roof with the extra ladder protruding on the side of the roof serving as handhold. Secure the ladder with rope or other fastener to prevent accidental slippage while you are climbing.

3. Scaffolding for Convenience

Use a scaffolding instead of a ladder when you are installing foam closure strips or insulating the roof cavity on the edges of the roof. It may not be safe or convenient to use a ladder when doing this part of the work.

4. Wear Protective Gears

Protect yourself from dust and other fine materials when cleaning insulation. Blowing insulation produces dust that is harmful to the lungs and irritating to the eyes. Wear protective gears such as gloves and respirator to protect your health.

5. Preventing Fires

Avoid installing combustible materials within 2 inches of flue pipes. Mobile home flue pipes should have at least double or triple walls. Install extra metal pipe sleeve and metal collar at the ceiling or use noncombustible materials such as fiberglass to further contain the warm surface of flues.

6. Cleaning the Roof

Clean the roof before applying any sealant as the compound will not adhere properly to a dirty roof. Brush away any dirt, leaves or twigs that have settled on the roof. Once it is clean, look for cracks and holes and apply the sealant. Avoid walking on the roof while applying the sealant to ensure maximum adhesion. Use a ladder for those hard-to-reach areas.

7. Apply Sealant Twice

Double coatings are always better than one. Apply the sealant twice on the roof but allow the first layer to completely dry off before adding the second coating. Using a roller is preferable since you do not want to step on the roof while applying the sealant.

How to Easily Install a Mobile Home Roofing

mobile home roofing

Installing your own mobile home roofing will save you a lot of money. It does not take highly-specialized skills to accomplish it. You will just have to equip yourself with the right tools and materials to be used in the installation.

The hardest part in the whole process is the removal of the old roofing material, and cleaning the roof of debris and dirt. Getting help from friends and paid labor is advisable to facilitate the removal. After that you can just follow a procedure on the best way to install a new roof on your mobile home.

Here is a simplified procedure in installing your new mobile home roof:

Step 1

Lay out the insulation on the entire length of the cleaned and scraped roof. Use a knife to cut off excess portion of the insulation. Seams can be sealed using a duct tape.

Step 2

Put furring strips (1 by 4 inches) on the length of the roof, about 2 feet apart. Locate the rafters on the roof and mark their location using chalk lines across the roof width. Feel around the surface of the roof to find the exact location of the rafters. Affix the furring strips to the rafters using a drill and 3½ inch-long deck screws.

Step 3

Cut the corrugated metal sheets to the correct size using a circular saw. Add an extra 8 inches for overhang after measuring the width of the roof. Position the metal sheet along the edge of the roof, but make sure there is an overhang of 4 inches on both sides. Use a drill and 3½-inch deck screws to fasten the metal sheet to the furring strips. Remember to place the foam closure strips on both sides of the metal sheets.

Step 4

In placing the metal sheets on the roof, you must overlap them in one direction only to prevent leaks. Each metal sheet has a mark on one edge. Put the edge without the mark on the edge of the next sheet with a mark. Insert the foam closure strips into the ends of each metal sheet. Do this until the whole roof is covered by metal sheets.

Step 5

To facilitate laying out the metal sheets, remove all vents from the roof including furnace vent. Put markers on the metal sheets where the vent holes would be and cut them out. Be sure to replace damaged rubber boots on all the vents to prevent water leaks. A neoprene rubber roof sealant is effective in caulking cracks and holes around the vents.

Step 6

Attach the gable trim on the ends of the roof and secure it using a drill and 3½-inch deck screws. You now have a new roof on top of your mobile home.